
I am about to show you a ridiculously easy DIY project, and then maybe THE easiest DIY of all time. These will work in your office, as a gift–even as wedding decor! And you seriously won’t believe this. Ready? GO!
You will need:
- Chalkboard paper–available at craft stores in the scrapbook paper section
- Glue
- Art tile or foamboard cut to size (I am using 6″ x 6″)

You need these….
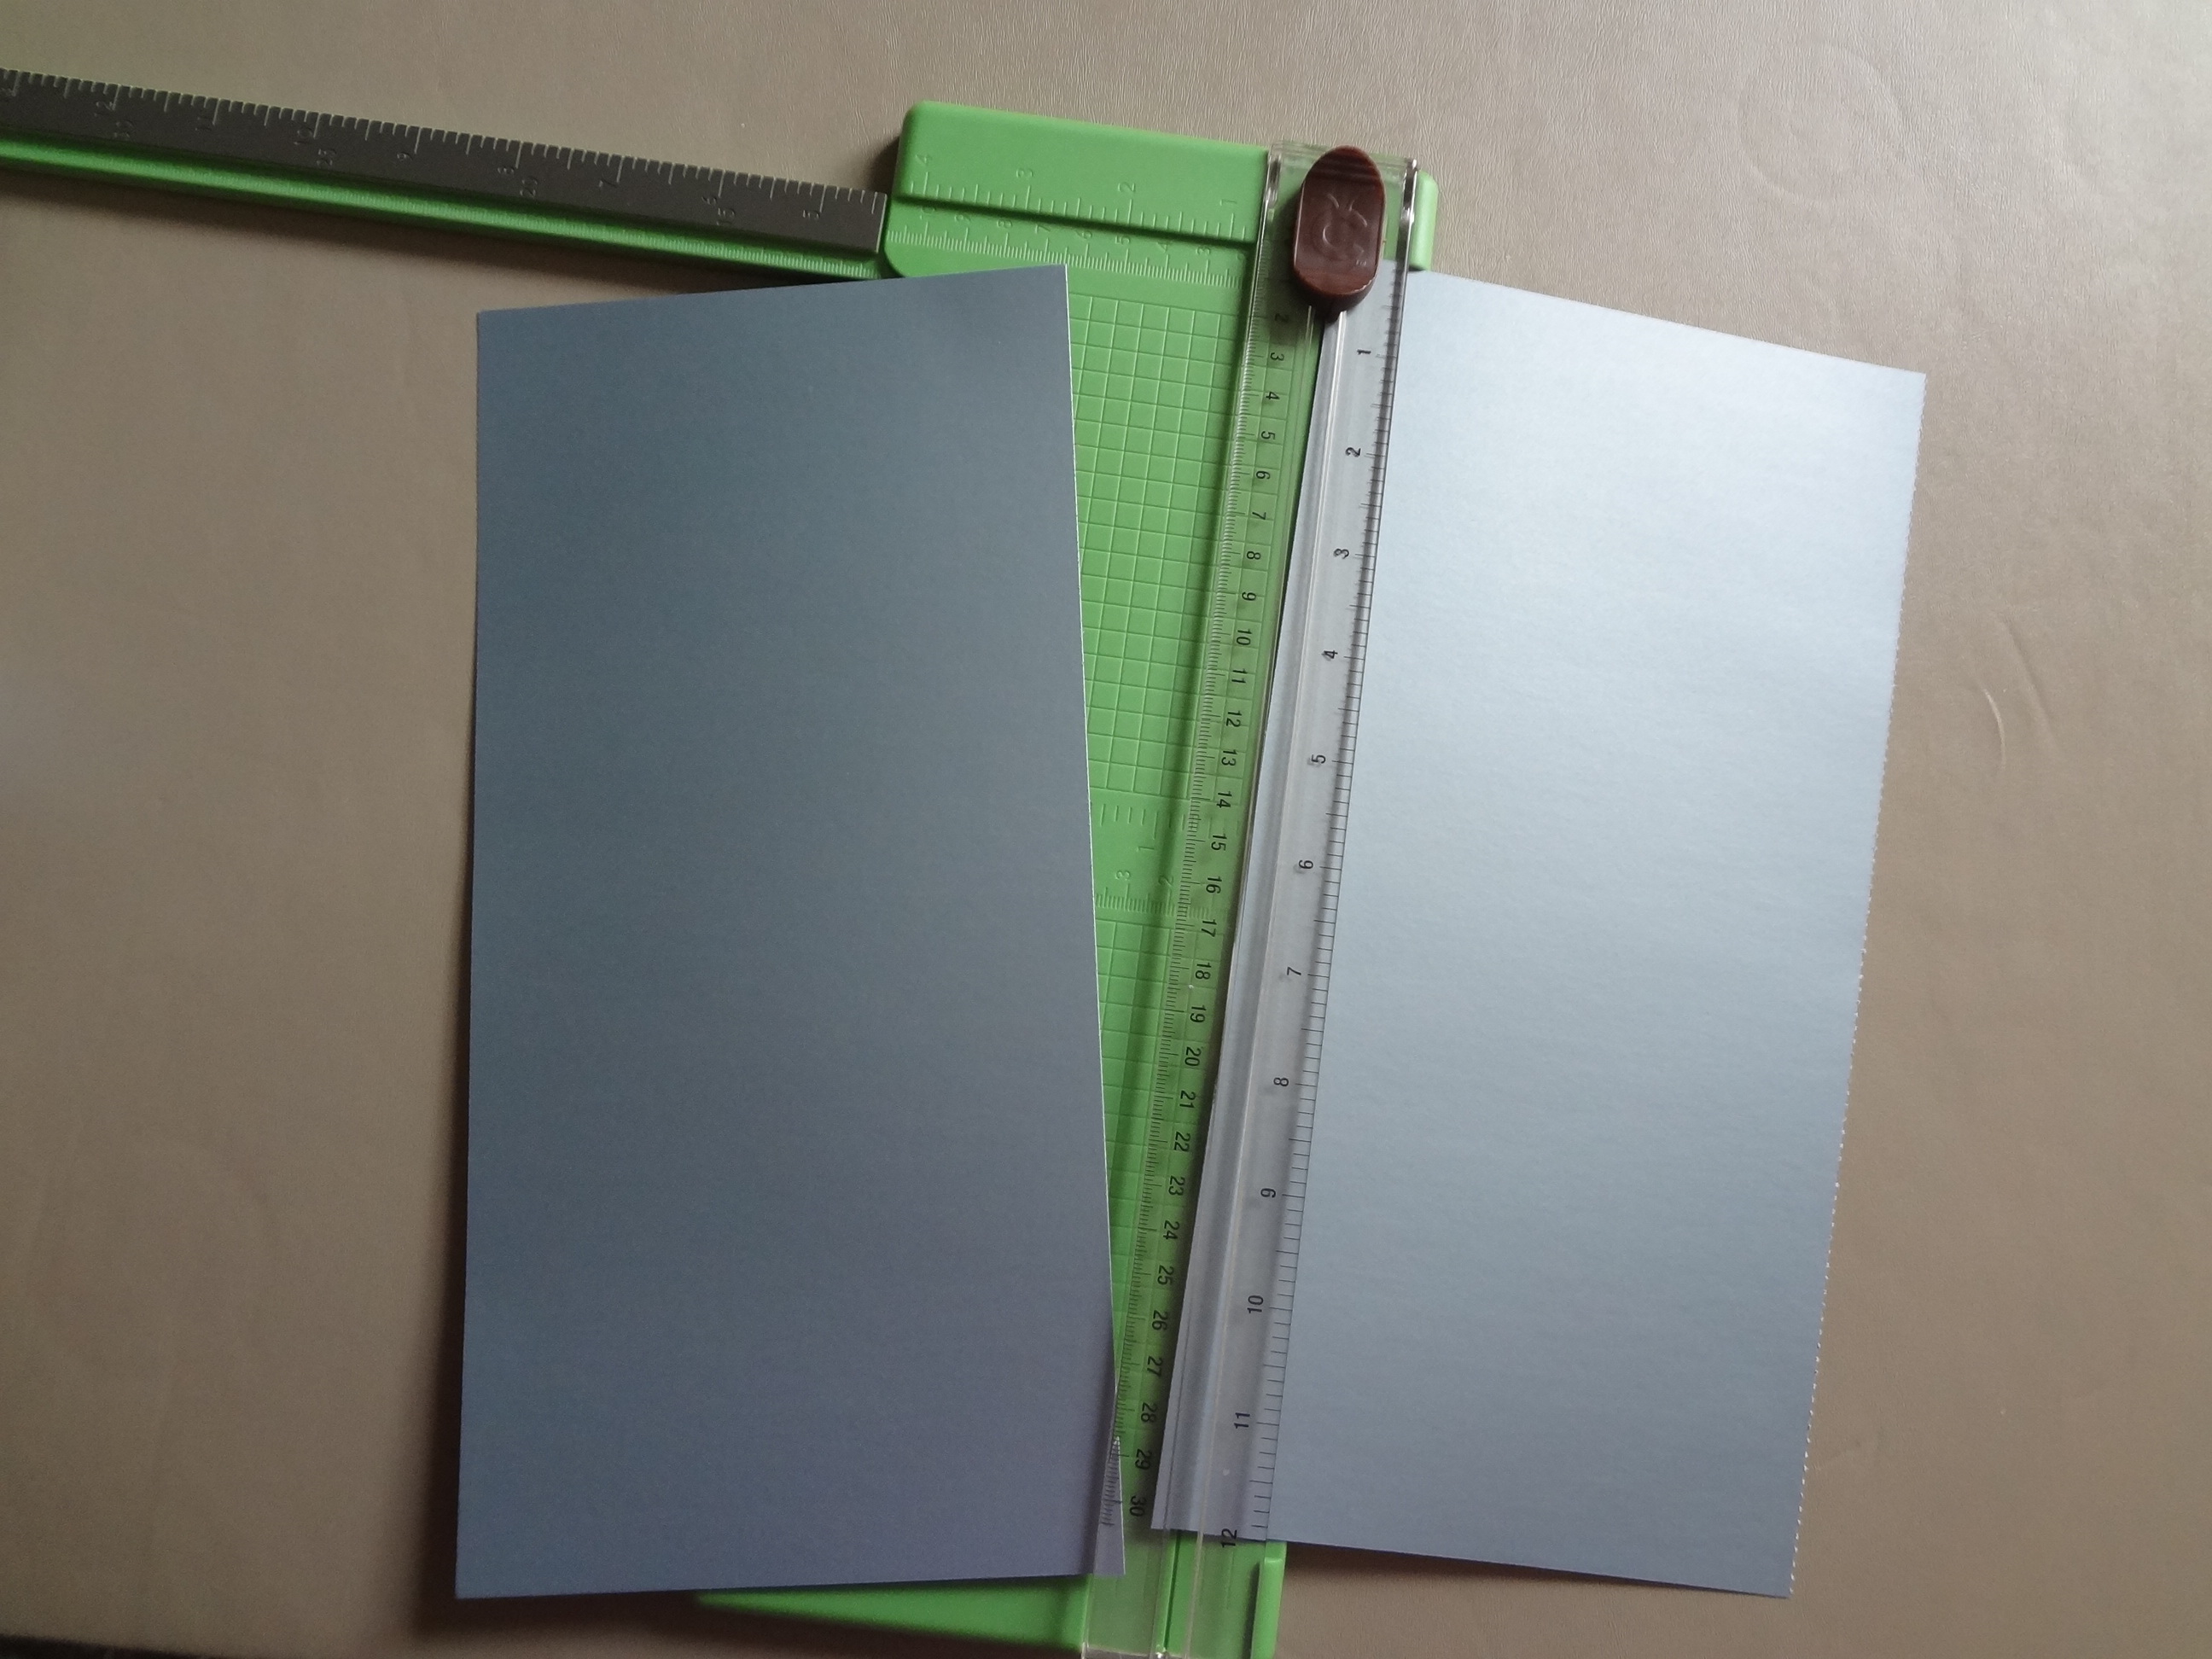
Cut it to the right size…

Add a little glue…
Finished!
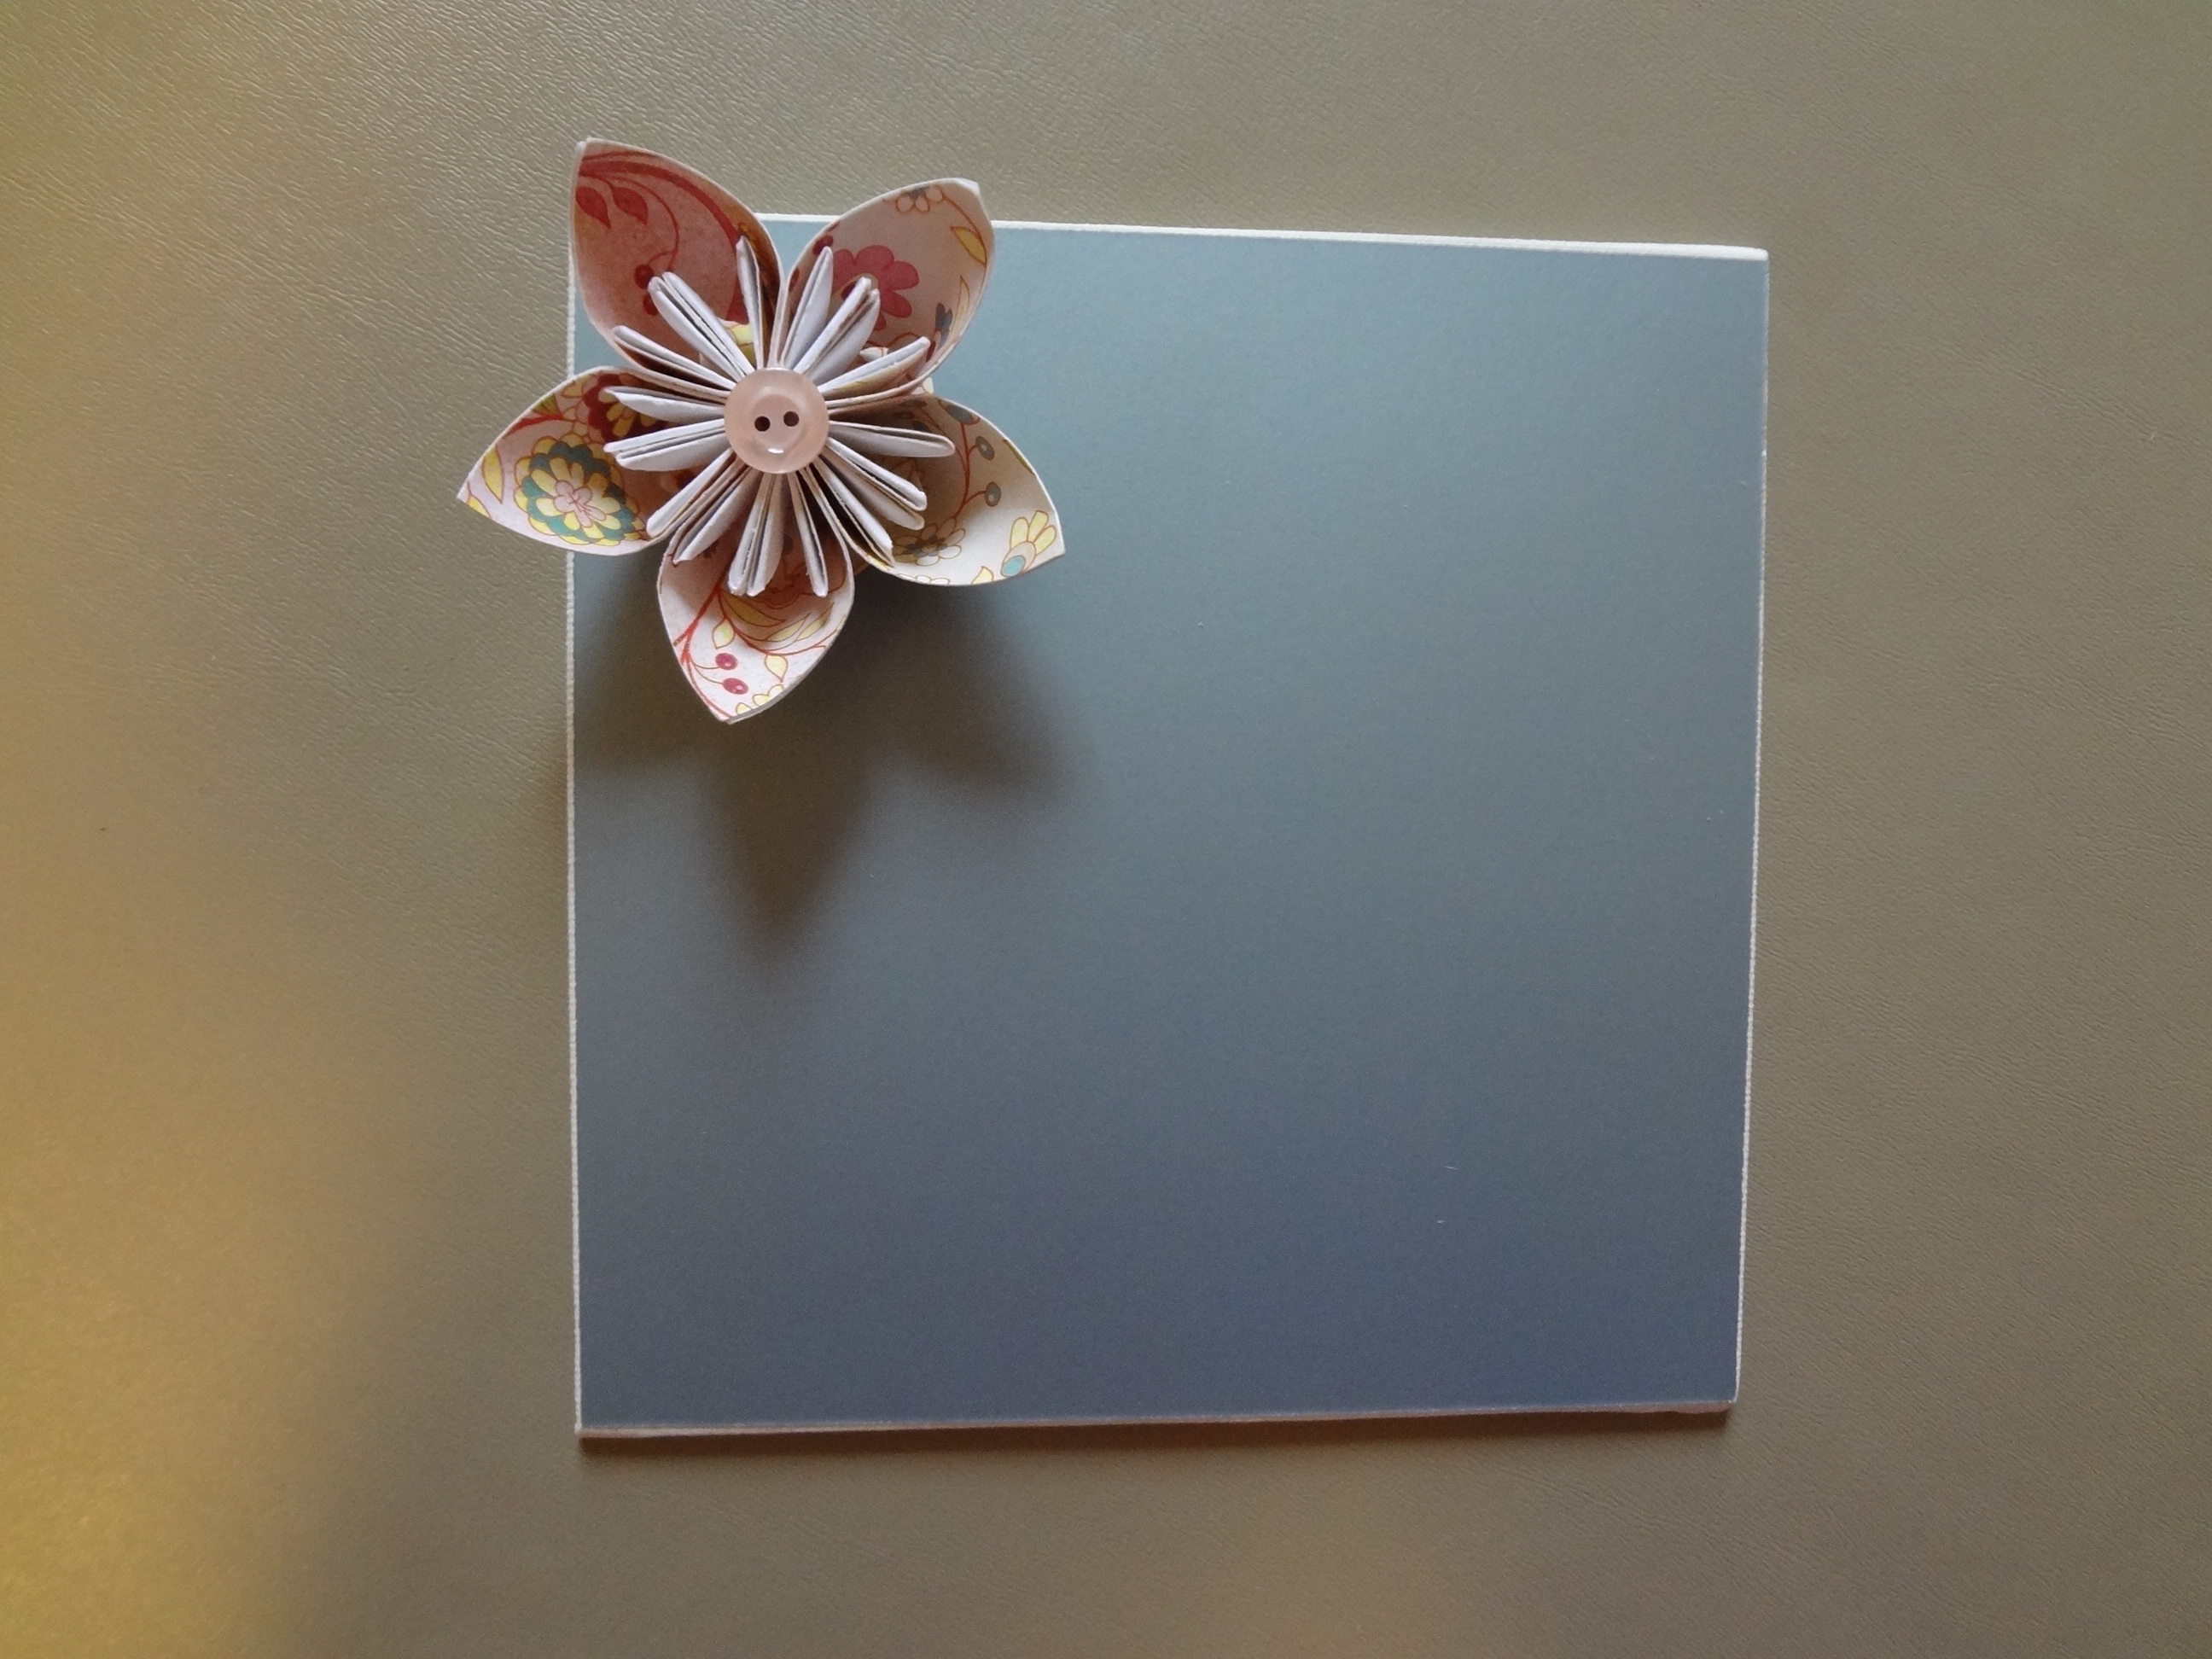
Give it a little paper flower for panache!
That’s it. Really! I am using a 6″ x 6″ art canvas, but I call it a tile. I cut my chalkboard paper just a smidge short, maybe a millimeter or two, just so the paper doesn’t go all the way to the edge of my tile. Spread a little glue (but not too close to the edge or it will squeeze out when you smooth it and make a sticky mess), and press it into place on the tile. Presto! Pretty chalkboard decor!
Tips:
- My Cricut paper cutter had a brand new blade and cut well. I can see where a dull blade might leave a rough edge, so you might want to use a craft knife and a ruler, or a really sharp pair of scissors instead (if you can cut straight). The paper almost feels like sandpaper, so just be aware of that before you rough up your edges.
- Glue dots or some kind of tape might be strong enough, but I really wanted my paper to stay in place, so I used craft glue. The Sobo dries pretty quickly and holds great.
- It really does erase! Don’t be afraid if your chalk handwriting doesn’t look so good. It did wipe away with a dry paper towel with no trouble. So, you could even change the message to fit your mood and it will still look great!
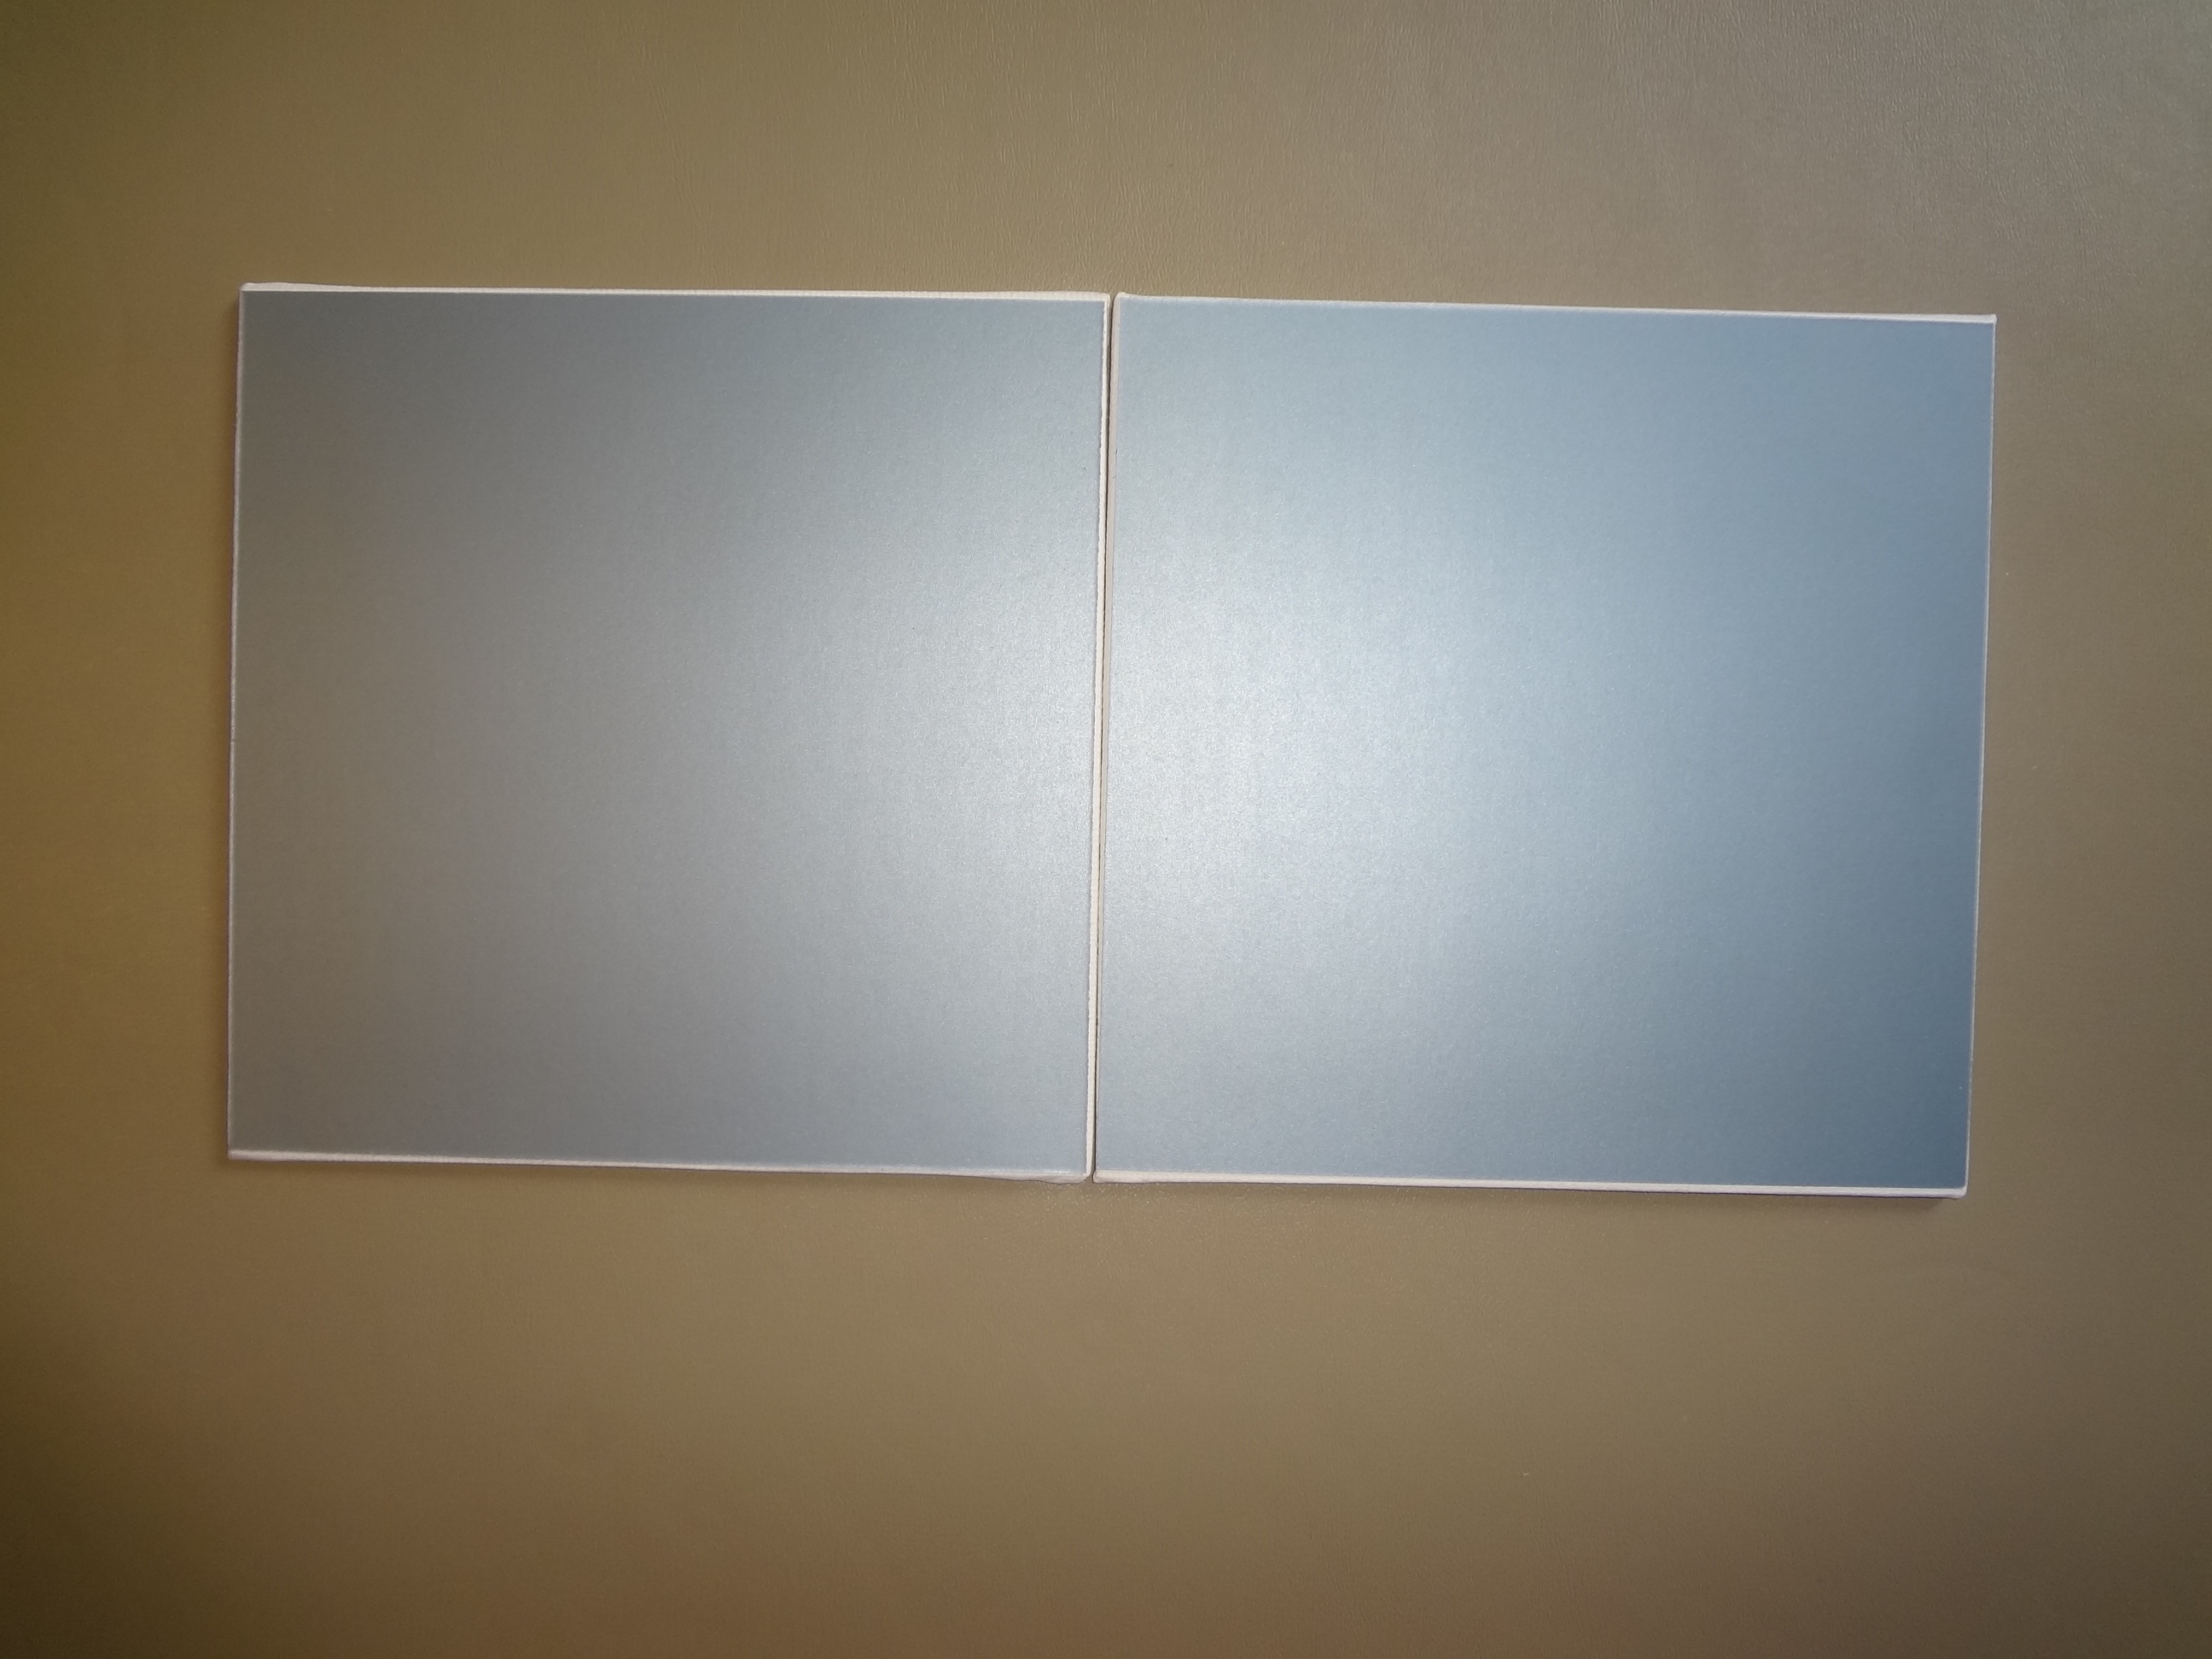
You can make multiples and mount them on the wall using double-sided mounting tape to make a decorative message board in your kitchen or office. Use different colors and alternate them like a checkerboard, like Martha Stewart did here (with paint right on the walls).
Another option for your super-easy finished piece: you can take your tile and put it in a plate stand. Grab a piece of chalk, write a message, and either use it as decor with maybe a meaningful quote or a drawing. Or, option #3….
…turn it into a Sentimentile! It’s a twist on a homemade greeting card. In my Etsy shop, opening soon, I will have some of these for sale, that include a completed back with room to write a personalized message to your recipient.

Chalkboard Sentimentiles–great for Mother’s Day!


Sentimentile Back
See, wasn’t that easy?
Ready for the REALLY easy one??
You need:
- Chalkboard paper
- Blade for cutting
- Picture frame
Cut your paper to fit the insert. Remove the glass, and put your paper in the frame. Ta da!

Chalkboard paper + picture frame = Table decor…if there was something written here!
And for my super easy bridal project for a DIY bride, or one on a budget, use it as table decor!!

Table 5! Right here!
So, that’s it for Tutorial Tuesday. I hope you visit again soon–I love visitors!!
And if you make one of these, would you leave me a comment and maybe a photo? I’d love to see what you create!


I so love this! I am not a “crafty” teacher, but I could so do this with my students.
LikeLike
Absolutely–I’d love to see what you make!!! You could get plain wood frames and paint them and get a cute little mess age board too. Have fun with it!
LikeLike
Thank you for sharing these craft ideas. Those made me to nominate you for Liebster award: http://justapieceofafrika.wordpress.com/2014/04/25/liebster-award/
LikeLike
:). Enjoyed reading your first tutorial!
LikeLike
Thanks!
LikeLike